
Self-Injection Guide
Intramuscular (IM) Injections
IM injections deliver medication deep into muscle tissue, where it's absorbed quickly into the bloodstream. This guide covers preparation, choosing your site, and injecting safely at home.
The Basics
What Is An Intramuscular Injection?
An intramuscular injection delivers medication deep into the muscle tissue, allowing it to be absorbed quickly into the bloodstream.
This route is commonly used for vaccines, antibiotics, hormone treatments, and other medications that require rapid or sustained absorption.
Confirm The Route Before You Start
Check your Rx Summary to verify your medication can be given intramuscularly. If your medication is subcutaneous, follow the Sub-Q guide instead.
Your Equipment
Know Your Syringe
A syringe has three parts: the needle, the barrel with its measurement markings in milliliters, and the plunger that moves medicine in and out. IM doses are measured in milliliters, not units.
Reading The Markings
On a 3 mL syringe, every numbered line is half a milliliter, with a shorter line at each quarter in between. Read your volume at the line where the plunger stopper sits — in the example above, that is 1 mL.
Step By Step
How To Draw Up Your Medication
Work on a clean surface with washed, dry hands and your supplies laid out in front of you.
Verify Route And Dose On Your Rx Summary
Confirm your medication can be given intramuscularly and check the exact dose for the vial in your hand. Concentrations vary from pharmacy to pharmacy and from medication to medication.
1
Check Your Rx Summary
Verify that your medication is to be given IM, and confirm the dose you need to draw up.
2
Clean The Vial Top
Clean the vial top with an alcohol wipe (or isopropyl alcohol and gauze) before each use to maintain sterility. Let it dry completely before puncturing the vial.
3
Pull In Air To Your Dose
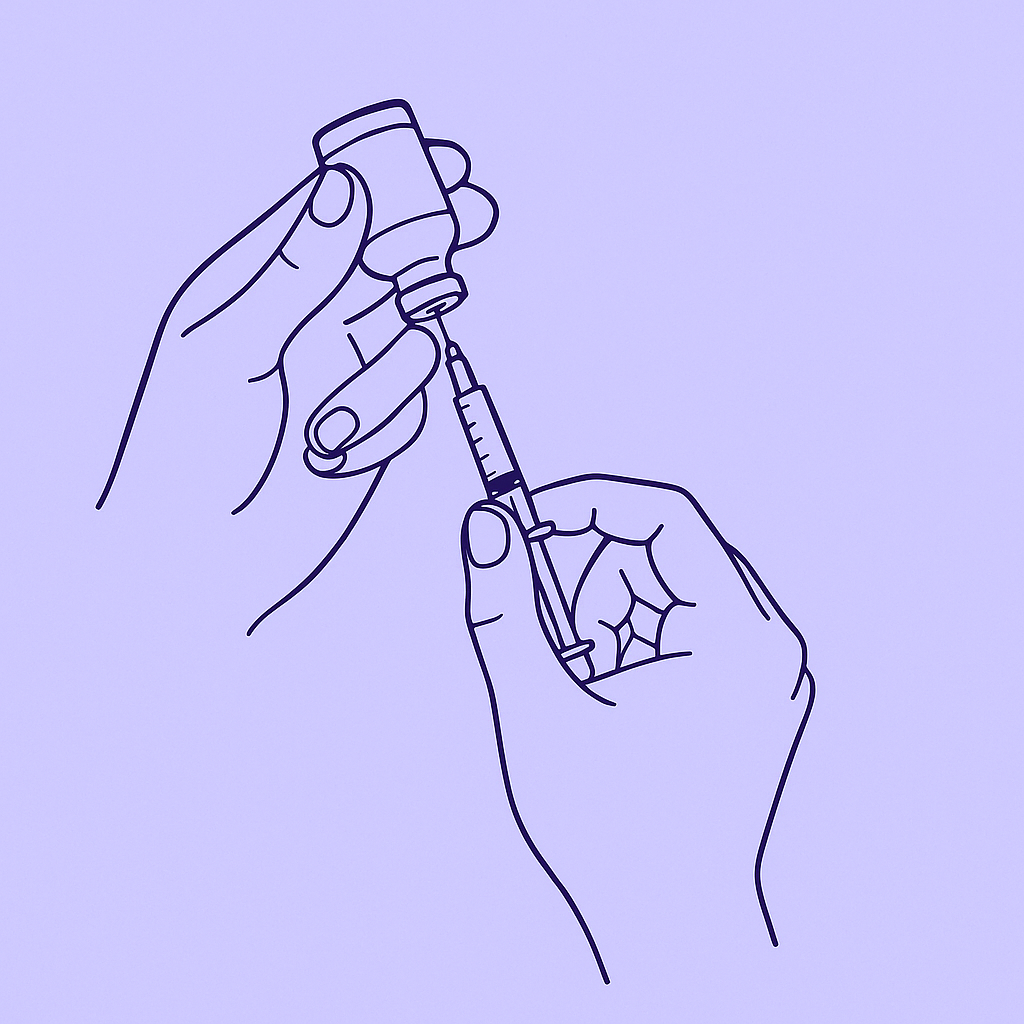
With the cap still on and the needle pointed up, pull the plunger back to the marking for your dose. This fills the syringe with air.
4
Push The Air Into The Vial
Remove the cap and insert the needle into the rubber top of the vial. Do not touch or bend the needle. Depress the plunger to push the air in, which keeps a vacuum from forming.
5
Invert And Draw
Turn the vial upside down and hold it up in the air, keeping the medicine covering the tip of the needle the entire time. Pull the plunger back to the marking for your dose.
6
Remove The Needle
Take the needle out of the vial. Your medicine is ready to inject.
Placement
Where To Give The Injection
Three muscles are used for IM injections. The shaded zones show where the injection can go.

Choosing Between The Three
The outer thigh is the easiest site to reach on your own. The deltoid suits smaller volumes, up to about 1 mL. The ventrogluteal hip takes larger volumes and is usually easier with a helper.
Rotate Your Sites
Use a different site each time and keep injections at least 1 inch apart. Write down the date, time, and site every time you inject.
Gather Everything
What You Need
Lay everything out on a clean surface before you begin, and check it off as you go.
Wash Your Hands First
Soap and warm water, dried completely, before you touch any of your supplies.
Needle Size
Intramuscular injections typically use a 1 to 1.5 inch needle in 22 to 25 gauge, depending on the person and the medication.
0 of 5 ready
The Injection
How To Give The Injection
IM injections go straight in at a 90 degree angle, with a quick and firm motion, then a slow and steady push on the plunger.
1
Clean The Site
Wipe the injection site with an alcohol swab and let the area dry completely. Do not touch this area again until you inject.
2
Insert The Needle
Hold the muscle firmly and insert the needle into the muscle at a 90 degree angle — straight up and down — with a quick, firm motion.
3
Release The Muscle
Once the needle is all the way in, let go of your grasp on the muscle.
4
Inject Slowly And Steadily
Push the plunger down at a slow, even pace until the syringe is empty. There is no need to pull back on the plunger first.
5
Withdraw The Needle
Remove the needle and syringe at the same angle you inserted them, then apply gentle pressure with your gauze pad or place your bandaid.
6
Dispose Of The Syringe
Put the needle and syringe straight into your sharps container. Do not recap the needle.
Why There Is No "Check For Blood" Step
Pulling back on the plunger to look for blood is no longer recommended for routine intramuscular injections at these sites. Current guidance is to insert and inject in one smooth, steady motion.
Stop If Something Feels Wrong
If you feel sharp, shooting, or electric pain, numbness, or tingling as the needle goes in, withdraw it right away, apply pressure, and start over with a fresh needle and syringe at a different site.
Safety
Disposing Of Needles And Syringes
Do not throw needles into the trash. Used sharps need a rigid, puncture-proof container.
- Use a hard plastic sharps container made for used syringes and needles.
- A rigid plastic bottle with a screw lid also works.
- Make sure the syringe and needle fit inside easily and cannot break through the sides.
- Keep the container closed and out of reach of children and pets.
Common Questions
IM Questions
Do I Need To Pull Back On The Plunger To Check For Blood?
No. Aspirating before an intramuscular injection is no longer recommended as routine practice at these sites. Insert the needle and inject in one smooth, steady motion.
If you were taught to aspirate previously, this is a change in guidance rather than a change in your medication.
How Is This Different From A Sub-Q Injection?
IM injections go deep into the muscle for quick absorption, always at a 90 degree angle. Sub-Q injections go into the fat layer just under the skin for slow absorption, at either 90 or 45 degrees. See the Sub-Q guide for that technique.
Which Site Should I Choose?
The outer thigh is the easiest to reach on your own, and the deltoid works well for smaller volumes. The ventrogluteal hip site takes larger volumes and is usually easier with a helper. Rotate between sites so you are not using the same spot each time.
Should I Inject Fast Or Slow?
Insert the needle with a quick, firm motion, then push the plunger down slowly and steadily to deliver the medication.
How Do I Know My Medication Is Meant To Be Given IM?
Your Rx Summary lists the route for each medication. Verify it before every injection — never assume a new vial matches your last one.
Not Sure About Your Dose?
Check your vial math before you draw up, or get in touch and we'll walk through it with you.
This guide is general education for Lavender Sky Health patients and does not replace the specific instructions on your prescription or the guidance of your care team. Always follow your Rx Summary for your medication, dose, and route.